
Well this was for a meal a few days before, quiet night at home and the boyfriend is out of town so I just made a simple meal and I tried to make it a bit healthy. Key word is try.
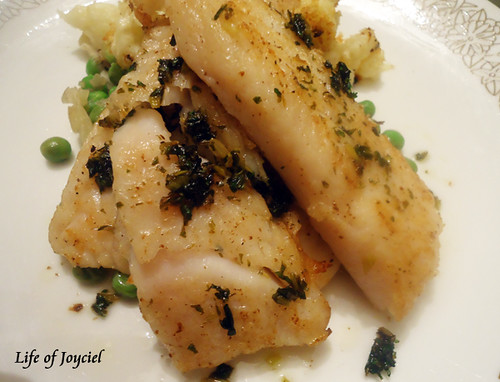
Pan Seared Halibut in Beurre Noisette With Parmesan Peas And Cauliflower Gratin
Servings: 1
Halibut
Ingredients:
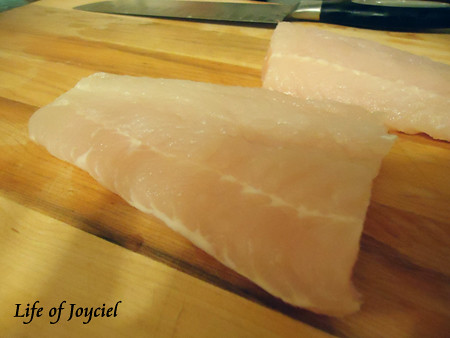
Halibut - one long fillet, cut in half (400g perhaps)
Cilantro - 2 tablespoons (or more! Cilantro = love), fine chop
Lime - 1/4
Butter - 2 1/2 tablespoons
Oil
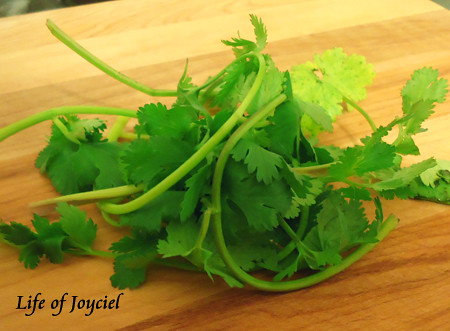
I love cilantro.
Instructions
1. Heat two tablespoons of oil in a non-stick pan at medium heat. Season fish with salt.
2. When oil is heated, add fish into the pan, when one side is golden brown, flip to other side and repeat. Put aside when done.
3. Pour out the oil, add the butter to the pan
4, When the butter turns brown, squeeze the lime and add the cilantro. Turn the heat off.
5. Pour on top of the fish.
Note: Y'all probably already know this but just in case (cause my boyfriend didn't and I have to yell at him and then there was this whole argument...) but don't pour oil down the drain, pour it in a cup or something and throw it in the garbage when it cools. Pouring it down the drain encourages clogging.
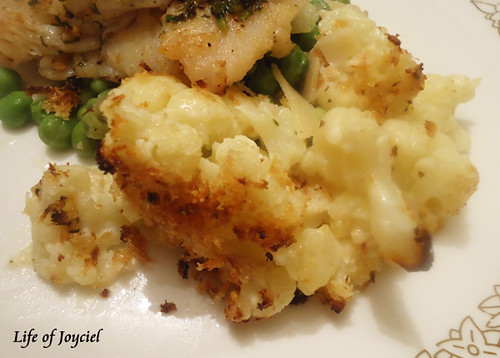
Cauliflower Gratin
Ingredients:
Cauliflower - 1/3 a big one, or 1/2 a really small one
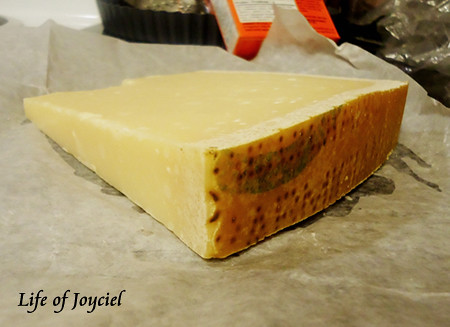
Parmesan cheese - to taste
Panko bread crumbs - 1/4 cup (don't have to be panko...just won't be as good...)
Cream - 1 cup
Milke - 1 cup
Flour - 1 tablespoon
Butter - 3 tablespoons
Instructions
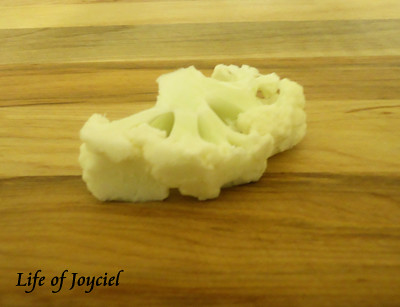
1. Prehea oven to 325. Wash and slice cauliflowers like so
2. Make a roux, melt one table spoon of butter at low heat and add the flour when the butter is all melted, stir for minute.
3. Add a little big of the cream, stir evenly, turn to medium heat until the cream starts to thicken, do the same with the rest of the liquids, little by little until it becomes a creamy sauce. Add some Parmesan cheese to the sauce.
4. Add parmesan and season to your liking. Turn off the heat and add the cauliflowers and coat it with the sauce evenly.
5. Put the cauliflower in a small rectangular pan.
6. Melt the rest of the butter in another pan at low heat, add the bread crumbs and stir. Add the panko to the top of the cauliflowers.
7. Grate some Parmesan, add on top of the breadcrumbs.
8. Put pan in oven, until cauliflower is soft. Than turn the oven to broil and take it out when the panko is golden brown.
Parmesan Peas
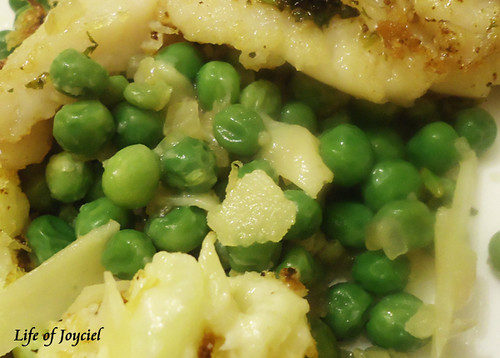
I have a caving for parmesan.
Ingredients
Frozen peas - 150g (bout 1 1/2 cups)
Parmesan - to taste, shaved
Shallots - 1
Butter - 1 tablespoon
1. Blanche the peas by boiling salted water. Add the frozen peas and take it out after ten seconds.
2. Melt the butter at low heat and sweat the shallots, with a small pinch of salt.
3. After the shallots give off some liquid add the peas and cook until the peas are warm.
4. Shave some parmesan and mix into the peas.
Well I guess not extremely healthy teehee but it was satisfying and that's all that matters!


+icon.jpg)